You can download the installer here. The software requires Windows 10, generally fairly recently updated (i.e., I keep my development system up-to-date and tend to only write software for up-to-date versions of Windows 10).
Important Note
Microsoft, in an attempt to increase the security of downloadable Windows apps, has made it much more difficult for small-time software publishers to create installers which don’t issue lots of security warnings.
When you download the installer you will probably be warned by your browser that it may be harmful (the warning depends on which browser you’re using). Assuming you elect to move forward you will then be greeted by another warning or two which you’ll also have to accept.
I invested several hundred dollars in a code signing certificate so you’ll know my software is actually coming from me. But acquiring a higher-level certificate which would side-step the warnings is very costly, very time-consuming and not really open to individual small-time software developers. So I didn’t take that extra step.
download the latest Windows 10 installer
Configuration
When you launch the app you’ll be created with the main window:
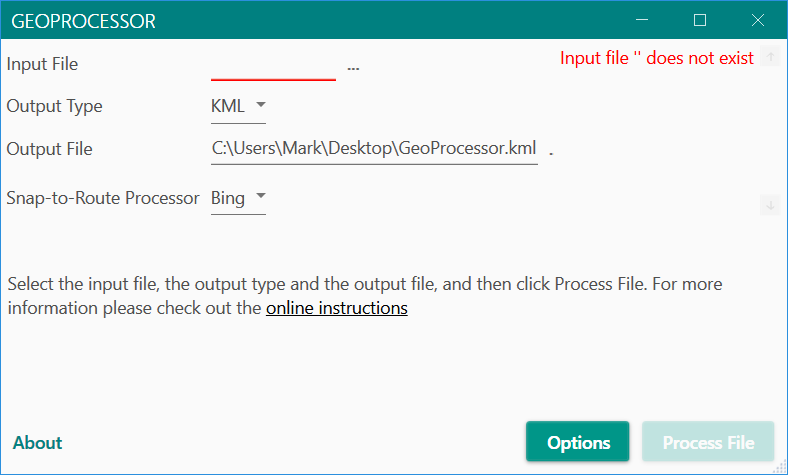
You configure how files will be processed by clicking the Options button. If you haven’t configured any snap-to-route processors (e.g., Bing Maps or Google Maps) you’ll have to do that on the Route Engines tab of the Options window.
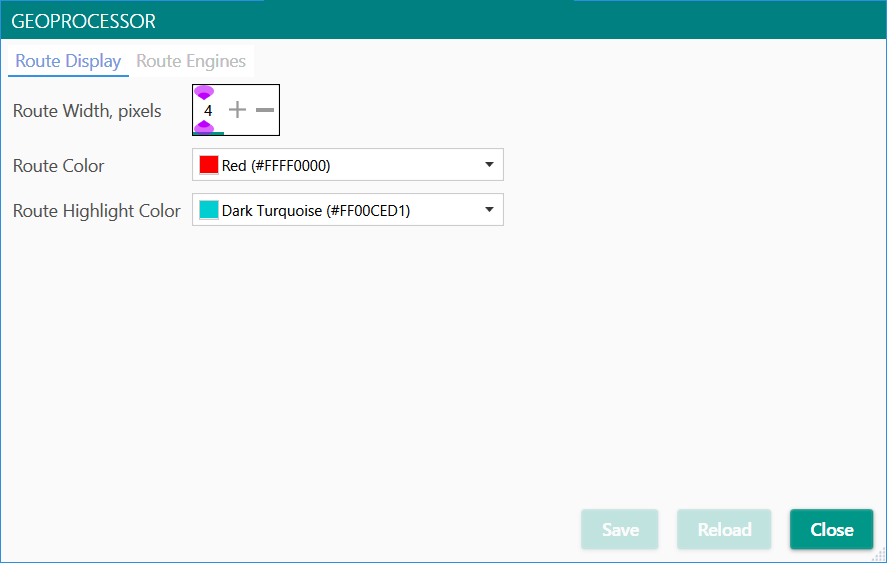
The first page of the Options window lets you adjust the color and width of the route line that will show up when the route is displayed in Google Earth:
You configure way the various route engines work on the Route Engines tab:
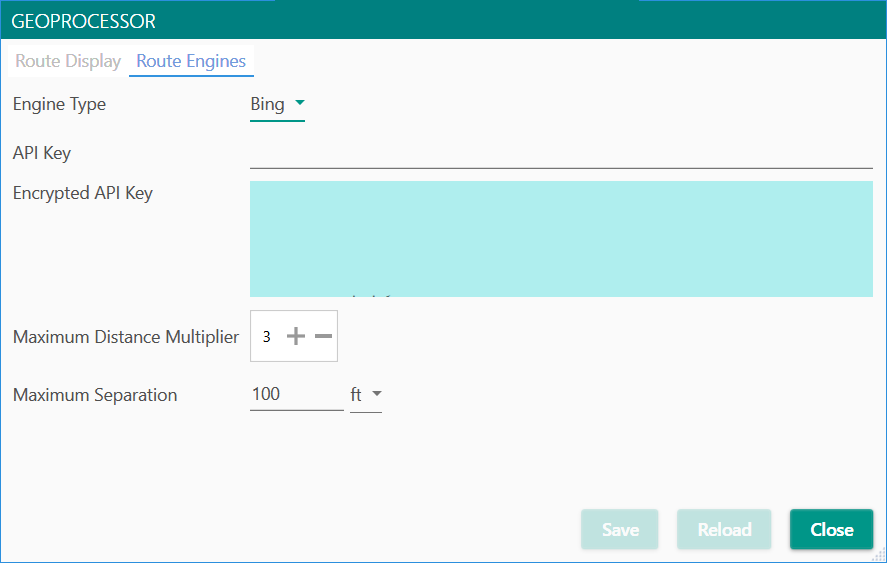
I’ve blanked out the API Key and Encrypted API Key fields for security reasons.
Once you have an API key for either Bing Maps or Google Maps you’d enter it in the API Key field. The Encrypted API Key field merely shows the encrypted value of the key which can be stored in the app’s configuration files for later use.
The Distance route engine doesn’t require an API key because it’s internal to the app. It’s used to “coalesce” points that are near each other before sending them off to the snap-to-route engine. That reduces the number of requests the snap-to-route engine has to process, which is useful because both Bing and Google start charging you for the service if you exceed their free usage thresholds.
If you have unsaved changes, clicking Close will warn you:
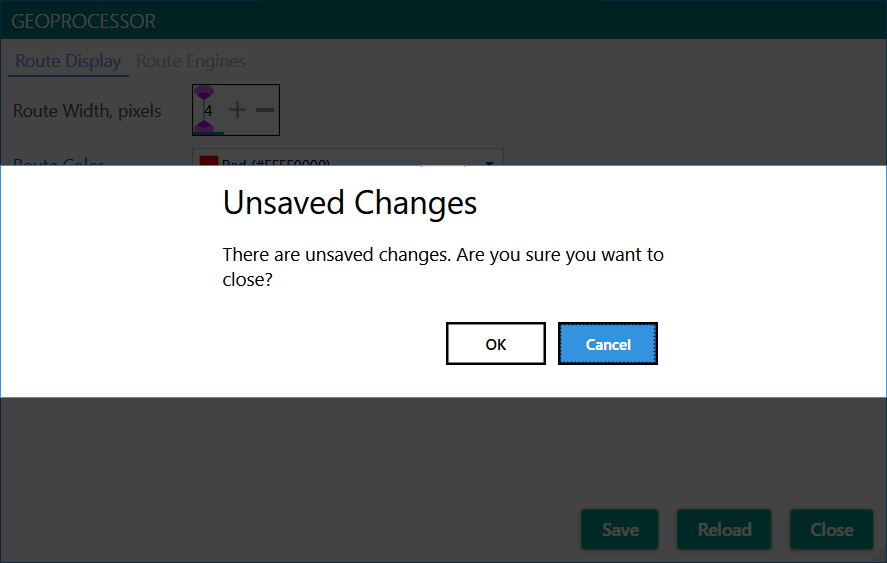
If you ignore the warning your changes will be in effect for the current session.
If you change the configuration that’s on file the Save and Reload buttons
will become enabled:
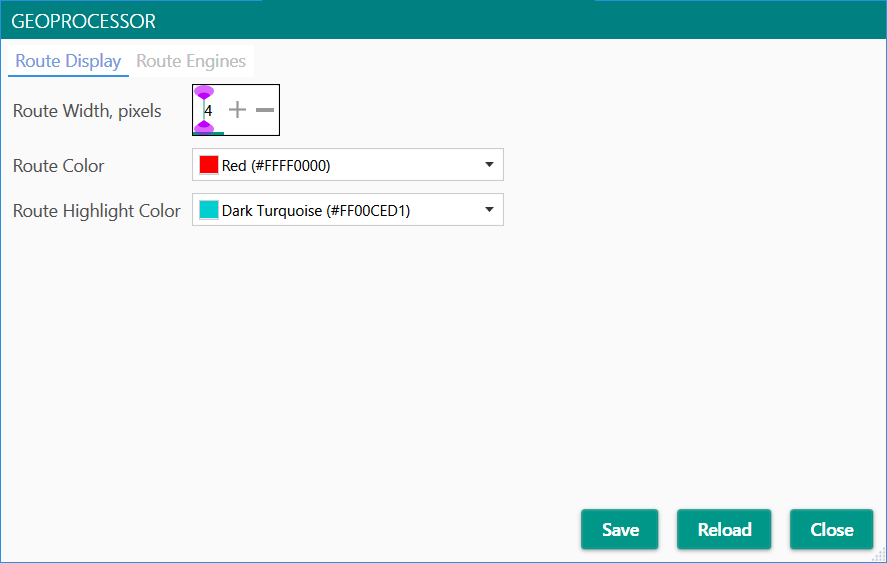
Clicking Save stores your current settings to disk for later use. Clicking
Reload reverts the settings to whatever they were when you last saved them.
Processing Files
After you’ve properly configured the app you can select a file to process by clicking the … control to the right of the Input File field. This will display a normal Windows file selection dialog which you can use to choose a file to process. The app only knows how to process GPX, KML and KMZ files.
The app can output its results to either a KML or KMZ file. KMZ files are simply compressed/zipped KML files, so they’re smaller but you can’t examine them in a text editor.
After you select a file the Process File button becomes enabled:
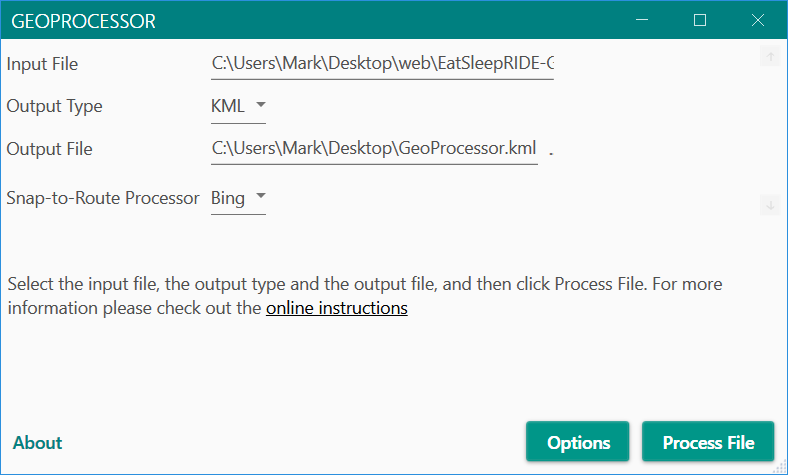
You can select the snap-to-route processor to use with the Route Snapping Processor dropdown. Only processors which have a defined API key (or don’t require one) will be available as choices.
If the output file exists you’ll be asked to confirm you want to overwrite it:
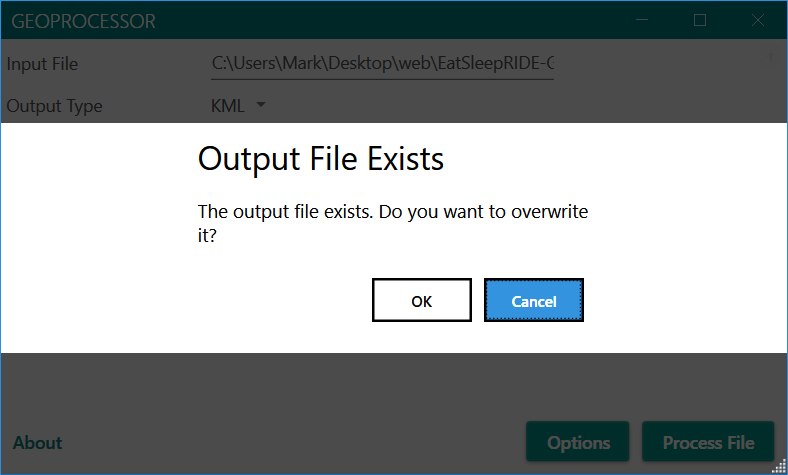
Assuming you do, or if it doesn’t already exist, a new window will open tracking the processing. A count of points processed and various messages will appear:
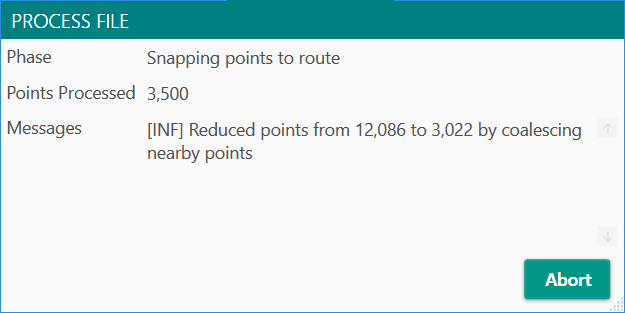
Don’t be surprised if the Points Processed doesn’t match the number of points written to the output file. That’s normal, because the snap-to-route processor adds additional points to make the final route “smooth” and match (mostly) actual roads.
You can abort the effort by clicking the Abort button. It may take a second or two for the processing to shut down.
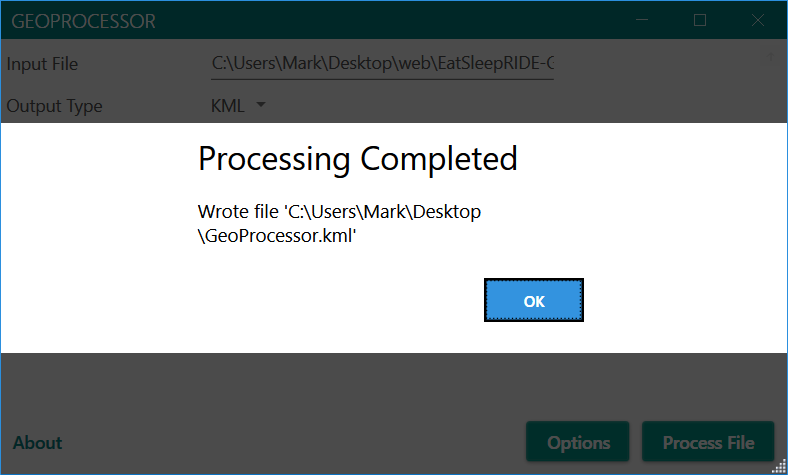
If the process succeeds you’ll see a screen like this:
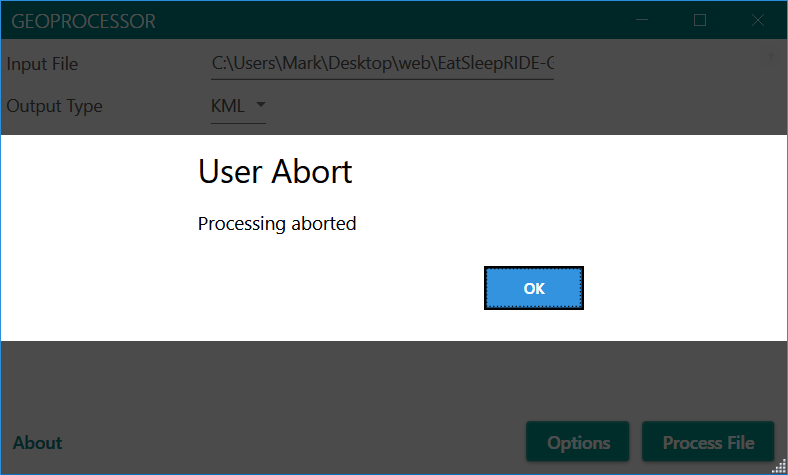
If you aborted the process you’ll see this instead:
Once processing is completed, successfully or not, you can select another file and process it.


